.%20Printable%20templates%20available%20for%20this%20project.)

Today, Grandpa Mike (a retired Detroit Fire Chief) read Green Eggs and Ham to our grandson's pre-school class. Grandpa Mike dressed for the occasion which I thought was pretty cool. It's awesome to have such a wonderful relationship with my son-in-law's family. My daughter and son-in-law have been together since 8th grade and are now happily married with three kids. Fischer (pictured in the green shirt) is the youngest.
The book reading was a joint family effort. NeeNee packaged "SAM I AM" bubble bath for my little buddy to give to his Valentine friends. Fischer eagerly applied the ingredient labels to the finished product. Many of the labels were applied cock-eyed, but no one noticed. This was a memory in the making.

The bubble bath product was colored green and scented in GoPlanetEarth's green apple fragrance.

Below are links for the printable labels. There are plenty of companies on the Net that offer bottles and bubble bath. You can also purchase pre-scented bubble bath at your local supermarket. Check-out your local Dollar Store for inexpensive plastic bottles. You will be surprised at what you can find in the $$ stores.
The labels I created fit one-ounce Boston round bottles. Ingredient labels are in MS Publisher allowing for changes based on product ingredients. Take note that the FDA requires an ingredient label on bath products. If you would like the editable MS Publisher template for the ingredient label, email with a Subject Line: Sam I Am Ingredient Label. Ingredient labels are designed for 30-up Avery Address Labels
The bottle labels are in PDF format so NO changes can be made. We sell 8 1/2 x 11 inch high gloss paper for printing the bottle labels. It has 4 slits on the peel-off sie of the paper making it VERY easy to remove the printed labels from the sheet. You can design and print custom labels and cut to size. Ideal for small projects such as this one. Below is a picture showing the backside of this high-gloss paper.


%20box%20to%20tote%20home%20Valentine%20cards%20and%20candy%20put%20a%20BIG%20smile%20on%20my%20granddaughter's%20face%0A.%0A "Pin It")


.%20A%20fun%20project%20to%20do%20with%20tweens%2C%20and%20big%20people%2C%20too!%0A "Pin It")

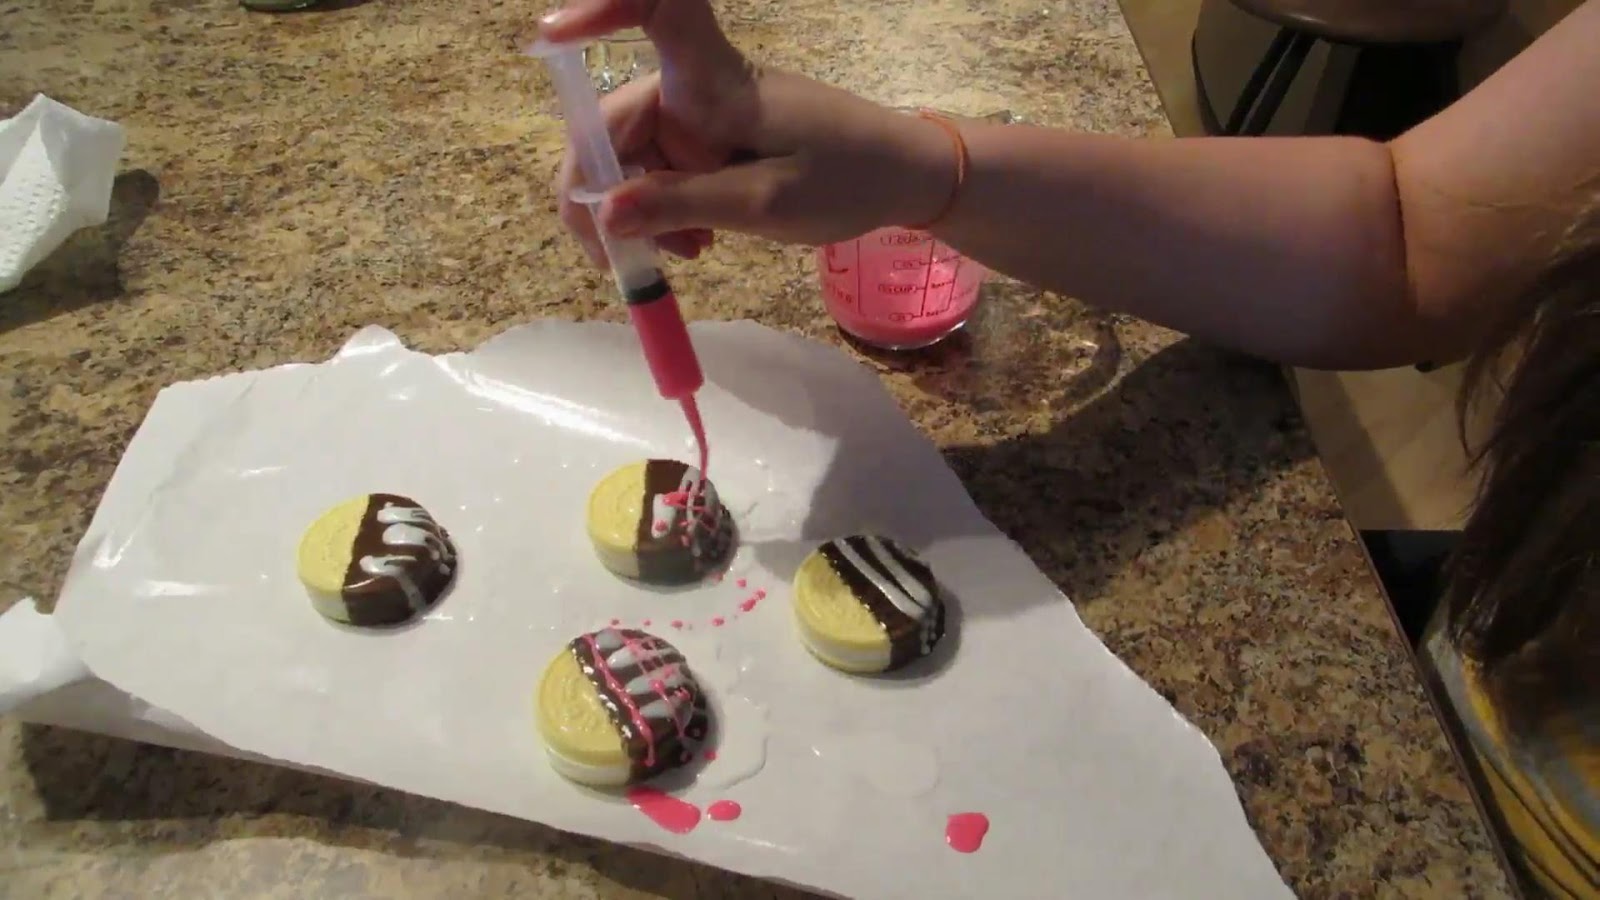


 Valentine Cup Cake Soaps


 I strung this clothesline in my family room for the grandkids. They arrive tomorrow morning for a surprise weekend at an indoor water park. The clothesline includes new shoes, swimsuits, and outfits for each grandkid. It's their Valentine gifts from NeeNee and Poppy.


