Friday, June 20, 2014

DIY Friendship Plaque


I've been on a crafting frenzy since I returned from Spokane. This is my latest project and I am pleased with the results. The layout was the most time consuming.

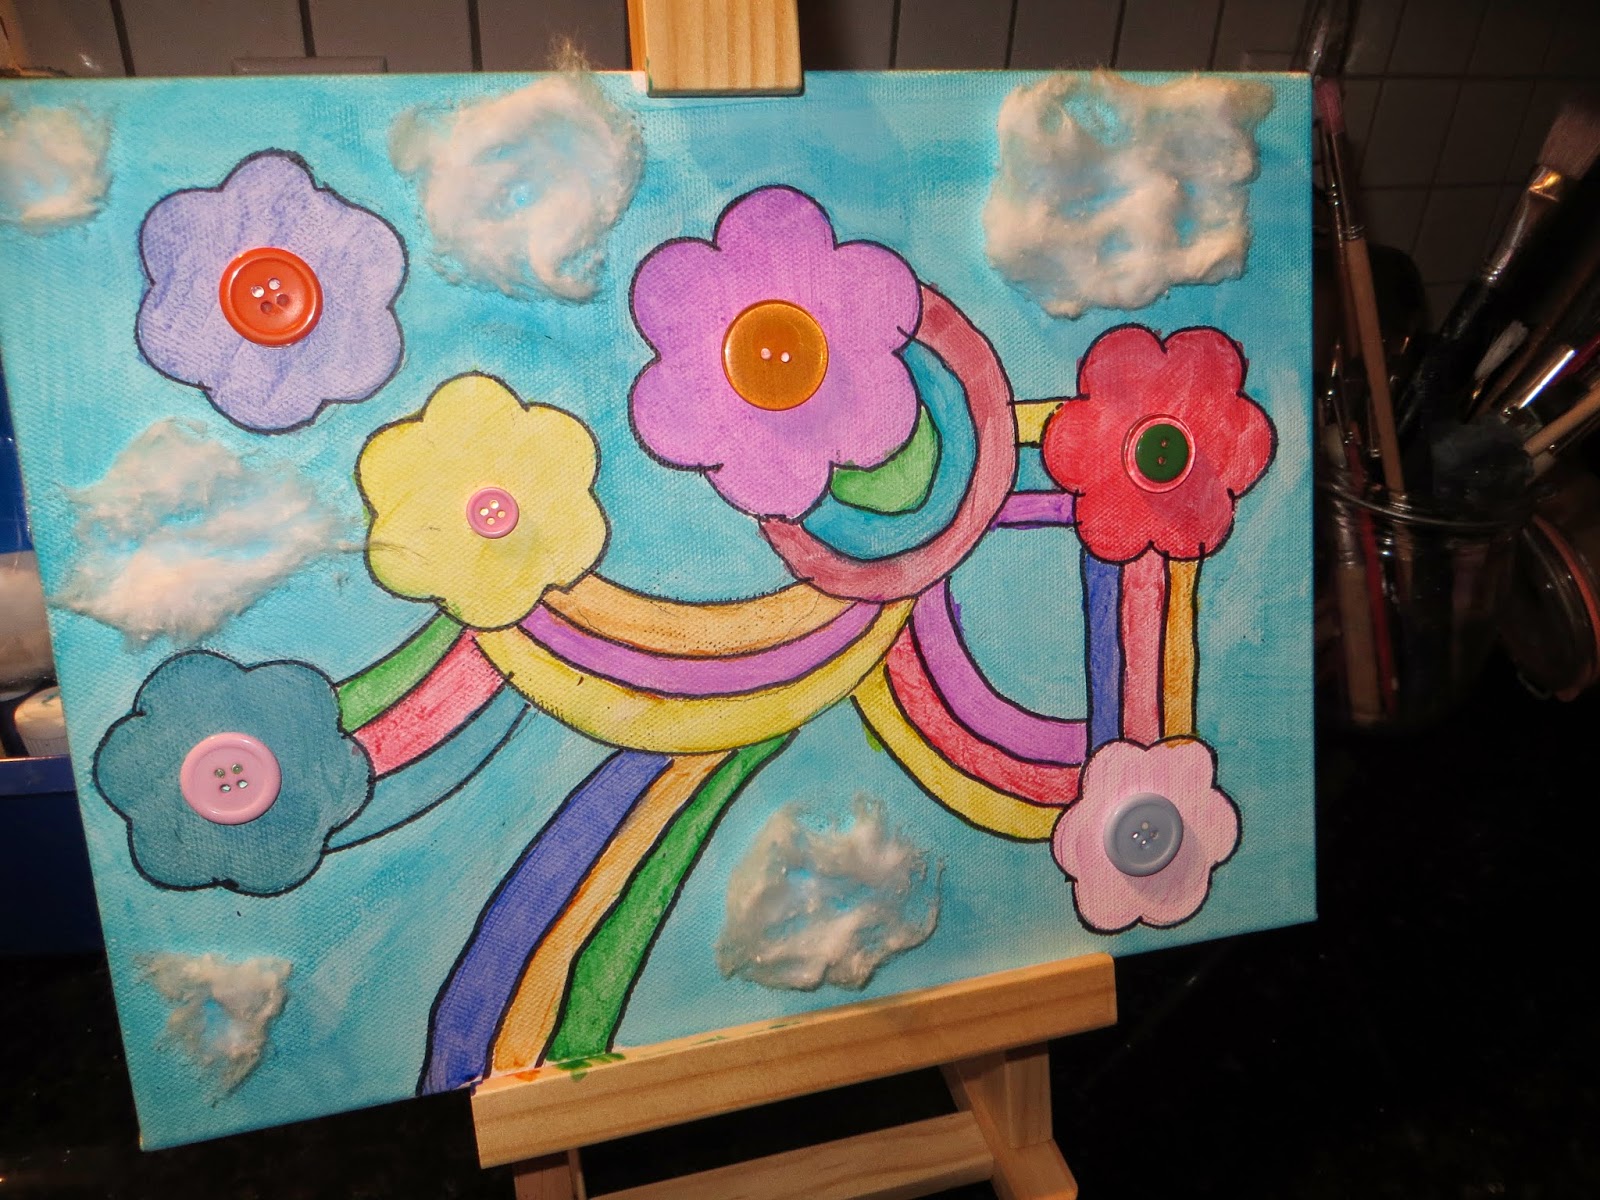
The canvas board was left-over from my granddaughter's birthday. It was painted in rainbow covers, but it didn't matter since I was going to cover the canvas with various papers.

The paper shown to the left was printed on the computer, but other papers used were scrapbook papers or handmade.

Paper punches were used to create decorative edges and satin ribbon was added for embellishment.


Mod Podge was used as the glue and sealer for this project. A thin coat was applied to the canvas and also to the back of each paper. A sponge brush works best for the application process.

I took a picture of the layout before applying the Mod Podge and used it as a reference when positioning the pieces. The lettering was printed on handmade paper and trimmed to fit.

The colors, arrangement of papers, embellishments and design elements are endless. Consider adding vintage buttons, jewels or pearls for a 3-D effect.


Wednesday, June 18, 2014

Rustic Recycled Wall Plaque


My recent trip to our local Goodwill yielded some great finds. I picked up this wooden 4 x 24" plaque for $1.99. It previously read Bordeaux but that was about to change, as shown above.


I recently returned from a trip to Spokane to meet with my business partner, Jefre. We have had many laughs about his over-abundant use of saying, It's All Good and I  couldn't help myself, I had to make him this wall plaque.

I peeled off the original Bordeaux paper layer and cleaned the plaque the best I could; any rough areas were sanded. Both the front and back sides were then given a coat of matte black paint (be sure to do this outdoors). Allow to dry.


While the board was drying, I designed the lettering using MS Publisher setting my print page as 4 x 24". The extended length required three sheets of paper which were cut and trimmed to fit the front of the board.


Position the three sheets as close together  as you can without overlapping the edges. Tape the underside of the papers to keep the lined edges in place.

Align the paper onto the board, flip the board to the back side and use a pencil to trace the outline of the cut.

Cut along the penciled area and trim if necessary to fit the board.


Apply a thin coat of Mod Podge to the face of the board. Set aside and apply a thick coat of Mod Podge to the back of the paper. Make sure you apply the Mod Podge in one direction.

I used a foam brush to apply the Mod Podge mixture which are readily available from Home Depot or any hardware store.

Position the paper onto the board and remove any air bubbles with a roller.Allow to dry for two hours before applying a top coat of Mod Podge.


The Mod Podge should be applied to the front of the paper in thin coats and all in the same direction. Make sure to apply the mixture along the edges of the plaque.

I used two thin coats of Mod Podge for this plaque and let it dry overnight. Allow the first layer to dry for at least 15 minutes before applying the next layer.


To add interest, I mixed a small amount of Burnt Umber Acrylic paint with water and brushed on in random places before applying the Mod Podge. This technique will really depend on the type of paper you have used. I used a heavier gauge handmade paper for this plaque and it readily accepted the brushed paint. Thinner paper may not be so kind.

Allow the plaque (or project) to set up overnight. If you need to speed up the process, you can use a blow dryer on a low setting.


Monday, June 09, 2014

MARKETING ON A SHOESTRING BUDGET


I just returned from Florida and one of my Vero Beach pit stops is Mrs. Mac’s Fillin’ Station Restaurant. Their clever marketing strategy leaves customers standing in line to get a table. Yes, the food is plentiful and certainly lures in returning customers; but, it is the unique way they have chosen to market their business that sets them apart from the rest.


As you enter the restaurant an old Gulf gasoline pump lends itself to the eatery’s fifties nostalgia. Menus are made from recycled license plates and red mechanic shop towels are used as napkins. Oil cans or wrench hang from the pant loops of the farmer jean uniforms; and worker assumes an automotive name while they wait tables.

If you want to generate new sales and business in today’s market, you need to have a solid marketing plan in place. The old school thought of ‘build it/make it’ and they will come’ mindset is no longer a viable option for online sellers. A recent visit to a famous downtown street market in Charleston reminded me of this truth.

I watched customers walk the corridors lined with seller booths; most held little product appeal. However, there were a few booths that seemed to lure the masses into their marketing net with little effort.

 I made mental notes on what made these vendors different from others.
  • Their product was unique and not found on the shelves of major discount stores.  
  • Discount incentives were offered based on number of items purchased.
  • Product samples were included with every purchase.
  • The seller gave special attention to how the product was packaged and displayed.
  •  Business cards and pertinent contact information was on display.
  •  Product labels looked professional.
  • The seller engaged with each customer and made them feel special.
  • Someone was available to assist every customer before they lost interest and walked away.

We live in a world driven by technology and taking product to market requires more than a web site, storefront or vendor booth. Knowledge of social media venues has become critical to the success of every business.  Competition, in the past, was limited to regional or local businesses. But the birth of the internet changed all that; our competition is now global and this isn’t about to change


The rapid pace of technological development will continue to be a challenge to all of us; even more so for small businesses and entrepreneurs who tend to be understaffed and lack the funds for a marketing budget.


Here are six ways to market your product online with a shoestring budget:
  1. Build customer relationships through social media programs. Take a look at what your competitors are doing socially. Understand, however, social media is not a one-stop marketing strategy and it does not generate overnight sales. Dedicate one hour a day to maintain your social media presence.
  2.  Establish a blog and post often. It helps to establish you as an expert in your field. Include a “share this” button at the bottom of each post for easy distribution. I use WordPress to blog and find it easy to use; it’s free to download and offer fully-customizable themed templates for under $100.
  3. Post relevant and helpful content on your web site or seller pages that will keep customers returning to your site. Not every post should be related to making a sale.  Instead, post information that can be linked to other sites which will boost your SEO rankings.
  4. Give customers a reason to trust your company. Post customer comments about your products and service. Provide contact information including both an email address and phone number. Check voice and emails several times a day. Use your social media accounts to keep an eye out for problems with your product or service and step in with help.
  5. Target your online audience with the use SEO key words, relevant web page titles and major search engine registrations.
  6. Identify and target your ideal selling audience. Consider a narrower marketing niche so you can better present yourself as an expert and stand apart from the crowd. As you gather your database of customers, treat it like gold because it is the primary vehicle to communicate your marketing message.

Concentrate your marketing time and energy based on the Pareto’s Principle, also known as the 80/20 rule. Consider that 80% of your business comes from 20% of your customers. So, for maximum results you should utilize 80% of your marketing budget and time on retaining and expanding the sales of the top 20% of your customer base. Implement loyalty programs to show appreciation. This might include free samples; buy one get one free, discount coupons or referral rewards.

Make integrity the core ingredient of your business and you will succeed in marketing on a shoestring budget. Integrity doesn’t cost a thing, but without it, it will cost you everything.
_______________________________________________________

Denise Marks is a published freelance writer, children’s author, entrepreneur and CEO of Mold Market. Her stories have appeared in Chicken Soup for the Soul books and entrepreneurial magazines. As the owner of GoPlanetEarth.com and MoldMarket.com, Denise has over 16 years’ experience in the soap making business.

Friday, May 23, 2014

Easy DIY Get Well Greeting Card


I wanted to send a couple of Get Well cards to friends this week and decided to make my own. This was the result and it was easy-peasy to do. I've even included a printable template for you to use. Sorry, you'll have to provide your own band-aids and gauze (said with a big grin).

You can print a special greeting on the flip side of the card, or just opt to sign your name and call it good.

I used two sheets of creme color card stock paper. The card is sized to fit inside a 6 x 9" catalog envelope. It may require additional postage so you may want to weigh before mailing.

Snag the template here.

Tuesday, May 20, 2014

DIY Birthday Popcorn Cones & Stand


My granddaughter wanted popcorn at her birthday party. In keeping with the Rainbow Art Party theme I created popcorn cones and stand. It was inexpensive and made eating popcorn way more fun. The cones can also be filled with assorted candies for each party guest.

Another great way to decorate the cone box is with your child's hand prints dipped in finger paint. How cute (and fun) to have colorful hand prints covering the white paper.

You will need:

  • White craft paper
  • Color printer
  • White card stock
  • Clear tape
  • 6-inch wide netting, cut into 12-15" lengths
  • Postal box that is sized for shoes
  • Double-sided tape
  • Box cutter
  • Masking or painters tape
  • Cone template (found here)

How To:

  1. Assemble box, tape ends
  2. Use box cutter to cut 6 holes. Make holes large enough to hold the cones.
  3. Tape around edges of the cuts with masking or painters tape.
  4. Wrap box with white Kraft paper( like you would a gift).
  5. Use box cutter to make "X" cuts in each circle cut-out. Fold back the white paper in each hole and secure to inside of box with clear tape.
  6. Decorate box as desired. I used grosgrain ribbon and cutout the circle shapes that appeared on the cones. See attached PDF file.
  7. Print cone design on card stock paper and use the cone template to trace cone design.
  8. Cut out cone shape, roll and secure with clear tape.


Saturday, May 17, 2014

Rainbow Art Party for Kids


This past week I've been assembling everything I need for my granddaughter's birthday party. She decided on a rainbow theme to celebrate my newly published children's book titled Remember the Rainbow. Olivia loves to draw and paint so I suggested a Rainbow Art Party.


Each guest will receive a canvas with a pencil drawn design of the rainbow (shown left). Once painted, they can outline with a black Sharpie, add cotton clouds and colorful buttons.

A chalkboard greeting outside the front door  welcomes party guests.

Pizza, rainbow Slurpee, a rainbow candy bar and pink lemonade are all on the menu.


The backdrop for the photo shoot are plastic table clothes hung from a wooden dowel. I'll post pictures later of all the girls. Each girl will receive a frame to hold their photo shoot picture.


The party includes:


  • Lemonade stand
  • Jumbo rainbow slurpee
  • A colorful synergy maze
  • Gift bags that contain Crayola window markers, a copy of my new book, flavored lip gloss and a six pack of rainbow colored nail polish.
  • Popcorn cones


What is a colorful synergy maze?

Synergy is created when things work in concert together to create an outcome that done through the joint effort and cooperative action of two or more individuals.


My synergy maze uses yarn. Each child is given a color and must find their way to the end of their color to receive their gift bag. What makes it fun is that all the different colors are interwoven around obstacles and will require the joint effort of each participant to untangle their way to the prize.

This will be done outdoors which is great for helping the kids expend excess energy. They wind their yarn around a cover toilet paper roll.


I will post follow-up pics once the party gets into full gear and the final details are executed... like the giant rainbow slurpee, lemonade stand and synergy maze.

The set-up has been fun, it's the take-down that I'm dreading. But, if it creates memories for my granddaughter, it is all worth it.


Wednesday, May 14, 2014

Melt & Pour Soap Making: Bunny Rabbit Soap


I meant to have this soap posted before Easter but it didn't happen due to my crazy travel schedule. In March, I asked Sophie Soap Chick to come up with an Easter bunny soap using Mold Market's cupcake base and bath bomb mold. Sure enough, she came through with this adorable design. I love it!

Items Used:


Here are Sophie Soap Chick's instructions:
 
  1. You can start with either the head or the cupcake body. I used white soaps base for. For the head, all I used was white soap base and fragrance (Make sure to make extra and pour into the 8-inch Silicone Roll Tray for the ears that you will later carve out). For the body, I used white soap base mixed with Neon Pink Colorant (Only a drop or so) and filled the base of the cupcake mold. Make sure to also melt down extra so you can pour the remainder in the 8-inch Silicone Roll Tray for the inside of ears and nose. You will also need to melt down some clear soap base mixed with Black Oxide Colorant for the eyes and mouth and will also be put in the tray mold.
  2. Make sure to melt down the ear part first so you can work on that while the black is setting. To cut the ears I used the Recessed Smoother Tool and it took a little while to make them look perfect. Make sure to also smooth the edges to give it a rounder look. The same goes for the inside pink part.
  3. Once you have all these made and set, you can then melt some clear soap base and start attaching everything. I started attaching the head and the body first. I then moved on to putting the pink inner ear on the white ear. After that dried, I attached the ears on the body. I found it easier to attach them first and then the eyes and mouth.
 
This soap took about an hour or so, but was SUPER EASY to make. He is so cute you can make anytime, not just for Easter! 

Monday, May 05, 2014

Melt & Pour Soap Making: Meet Mini Man


Mold Market's new Mini Man soap mold is sure to be a hit with kids. Make them in blue, green, yellow, orange...any color you want.

Each mold has three cavities and makes approximately a 3.5 ounce bar that is 3-inches in diameter x 1 3/16" deep.

The use of a soap injector is necessary to fill in the accent areas of the eyes, hair, glasses and mouth. 

NOW IN STOCK and will be online this week.


How to Make Flower Pot Soaps


FINALLY! The flowers are beginning to bloom in Michigan. To celebrate, Sophie Soap Chick, planted a few soap flowers in Mold Market's flower pot mold. Sophie shares the 'how-to' information below.

Items Used:


First, I started mixing together ingredients to make the flower pots. I used white soap base and then added two drops of brown oxide and 1 small drop of orange oxide (Don’t forget to add fragrance). This made the creamy looking brown color that works perfect as a pot. I then poured this in the Mini Flower Pot Mold and let set.
Flower Pot Halves


While the Mini Flower Pot was setting, I moved on to making the flowers. For this I used the 8-inch Silicone Roll Tray. For the yellow flowers, I melted down white soap base and then added two drops of Neon Yellow. Make sure to spray down the tray with alcohol spray so there will be no sticking. I only poured the yellow until it covered the bottom. Do not make it too thick or your flowers wont stand correctly on the pot. After the yellow set, I then continued this process to make the pink flowers, the flower stems & leaves, and the dirt (one black and one brown, later will cut little pieces and mix them together).

During those setting, I took out the Mini Flower Pots and began cutting the tops with the Recessed Smoother Soap Tool. Make sure to keep a lip to hold in the dirt and to give the effect of a real flower pot. Once they were both even and fit properly, I used clear soap base to attach the two parts. Some of mine didn't stand up straight, so to fix this you can use the tool again and shave the bottom a little bit until it sits properly.

Join the two flower pot halves
with clear soap base.
To make the flowers, I used the smallest of the Flower Cutter Set and used it with the pink and yellow. For the stems I used the Recessed Smoother Soap Tool and then rolled with my fingers. For the leaves, I used the same tool and carved them out by hand. To attach all these I used the clear soap base.

For the dirt, I used the black and brown that I made out of the tray and used the same Recessed Smoother Tool. I used the curved end and with a flicking motion, popped out little pieces of black and then brown. This did take a little while, but after getting the hang out it becomes quicker. Make sure to attach the flowers in the pot prior to putting the dirt in. Once the flowers were in place of where I wanted them, I then sprinkled the dirt all over.

These turned out SUPER CUTE and I hope you all have a great time making these! Although, these take a few hours to make, the end result is so worth it!!!


Friday, April 11, 2014

New Soap Mold Designs

Mold Market has introduced eight new soap mold designs for spring 2014. GoPlanetEarth will carry them all. We expect to have them in stock by the end of April. An ADD TO CART button will appear next to the mold once we have them in stock.


Moustache Soap Mold
 
From t-shirts to cupcakes, moustache products are the new rage. This moustache mold is fun and can be embellished in a variety of ways. Each mold sheet produces 4 soaps that measure 4-inches in width x 3/4 inches deep x 1.72" in length.
Tractor Soap Mold

What big or little boy doesn't have an affection for tractors? I live in a small farming community where tractor races are a form of entertainment. I can't wait to see what Sophie Soap Chick does with this mold design. The multi-layer depths are ideal for using assorted colors when using our soap injector tool. Each mold sheet produces three soaps.

Monday, April 07, 2014

Melt & Pour Soap: Make a Minion Soap


We are back with soaping ideas.

Last week I asked Sophie Soap Chick to come up with a Minion soap based on a project I did with my grandkids. She ran with the idea and all I can say is WOW!


My grandkids are on spring break this week but this will be a soaping project for us to do once they return. What's not to love about this soap?

Place this soap on the ledge of the bath tub  and I guarantee they be excited to clean up after a day of playing at the school playground or park.

I'm thinking we need to make a few girly minions in pinks and purples. How about braided hair?

There are so many variations you can do with this design. Supplies needed and how-to instructions are given below.


SUPPLIES FOR BODY

Start with the main body


  1. Melt down white soap base (see instructions here)
  2. Mix together the Orange Oxide, Yellow Oxide, and Neon Yellow to create the perfect “Minion” yellow color 
  3. Add fragrance and mix until ingredients are thoroughly blended.
  4. Spray inside the 2-inch Tube Mold with rubbing alcohol to make sure the soap will come out easily when set. 
  5. Place the black rubber cap on the base of the tube, then pour soap into tube mold. Do not pour all the way to the top.

While the body is setting up in the tube, move on to making the round heads. Use the Large Bath Bomb Mold from Mold Market and used the same yellow “Minion” color as above. Only fill the mold cavities half way to make sure the head is not too large for the 2-inch diameter tube.


While the body and heads contain to set up, begin to make colors for the goggles, eyes, hands, feet, hair, mouth, pupils, and overalls. To make these, use an 8-inch Silicone Jelly Roll Tray. Make sure to spray rubbing alcohol between each poured layer.


To create hands, feet, hair, mouth, and pupils:
  1. Use Clear Soap Base (around 2.5 oz.)
  2. Mix with Black Colorant (TINY drop, a little goes a long way)
  3. Add Fragrance
  4. Spray Alcohol spray in the tray
  5. Pour a thin layer
  6. Spray alcohol spray on the layer (Will make bubbles go away)
  7. Allow to set until dry


To create goggles:
  1. Use White Soap Base (Around 2.5 oz.)
  2.  Mix with Black Colorant, again small drop
  3. Add Fragrance
  4. Spray Alcohol spray in the tray
  5. Pour a thin layer
  6. Spray Alcohol on the layer
  7. Allow to set until dry


To create the overalls:
  1. Use White Soap Base (Around 2.5 oz.)
  2. Mix in Neon Blue (2 drops)
  3. Add Fragrance
  4. Spray alcohol spray in the tray
  5. Pour a thin layer
  6. Spray Alcohol on the layer
  7. Allow to set until dry


All of these items were carved by hand with the Recessed Smoother Soap Tool. This item is CRUCIAL for the Minion. It helped me put a twist on how I wanted my “Perfect Minion” to turn out like I wanted.

I did a couple different mouths and there are so many options to make them show different feelings. Just make sure to ALWAYS smooth out the edges with the Recessed Smoother Soap Tool to make him look real and not so much like a box.

To attach all the parts in the end, I used the same tool to scoop some melted clear soap base and then stuck the pieces on. I found it easy to work from the bottom up starting with attaching the overalls and feet first, rather than the eyes and goggles.

Overall, to complete my perfect minion it took me a few hours due to drying time and carving all kinds of different faces and options to make my perfect one.

Hope you enjoy!

Sophie