
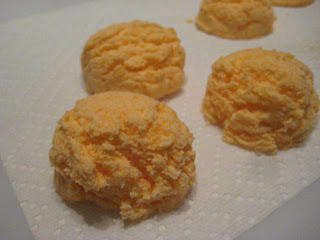
Wouldn't it be grand if life was perfect? Fat chance! So what does one do when plans don't turn out as expected, when a business fails, or life just happens? You make
applesauce! And that's exactly what I did.

I returned from a Chicago trip this past week. Besides spending an
exorbitant amount of money on an unexpected business dinner, I soon discovered that I had lost my return train tickets. Let's just say things were less than perfect and certainly did not turn out as planned. So what does applesauce have to do with all this? If you have ever visited an apple orchard you will find huge bins that contain less than perfect apples. They are generally bruised and considered the harvest seconds. For whatever reasons or circumstances, they are less than perfect. Business and life can be the same. You can plan to your heart's content, do everything within your power to reap benefits from your investments, and even hire the best consultants to ensure you are on track. However, there are times when life just happens and all our tireless efforts fail. We all have those bruised apple moments. So what do you do?

You make applesauce out of those life moments. You drop all those "
ugly, bruised, can't do this any more, why did I ever think this would work, what was I thinking, why me" moments into a big pot and steam them until they are mush. It's really quite amazing how you come out with something entirely new. It is what I call life's applesauce. It's mixing a variety of different life events, circumstances and moments that have gone bad and incorporating them into life's mixing pot. You then put them all through a sieve,
discarding the ugly stuff, so you can produce something even better.
My grand kids sure enjoyed this week's "applesauce moment". When you think that all is hopeless, when you're not sure how to turn a bad experience into something good, when you question why bad things happen to good people, or get frustrated with the bruised apples that fall at the base of your tree of life...remember, make applesauce!

 We'll have a S'more recipe posted as soon as this mold hits our warehouse. Just in time for holiday gift giving. We're going to be whipping up a a batch of our white soap frosting for the marshmallow middle. Luscious dark brown soap colorant is ideal for the chocolate center and I'll give you the perfect recipe for coloring the graham crackers.


 It was this


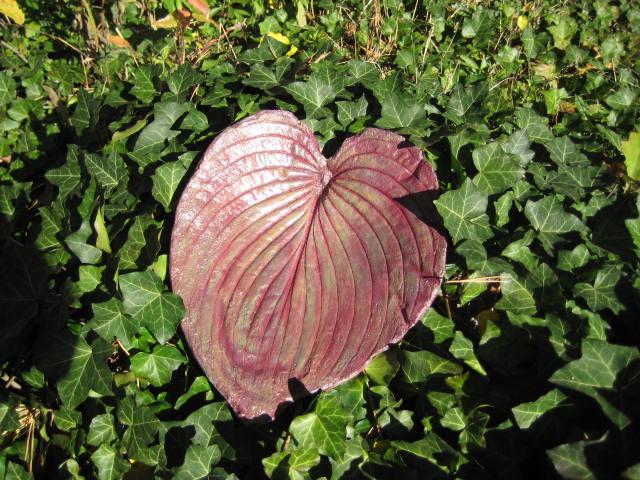
 Large leaves were then pressed into the bottom of the bowl (vein side down). The deeper the veins, the better the results.


 For those unfamiliar with a


 You need to pick your leaf. This is a leaf from one of my Yucca plants. Pick a leaf that has no holes (from insects) and is still fairly green. Many leaves are already turning brown due to the Autumn season. Those might not work so well. A leaf with pleny of veins is a perfect fit.
 My neighbor mixed up the concrete. I'll have the correct mixing ratio posted soon. Basically, you just mix water into the concrete until you get a consistency as shown. It's very similar to the same consistency you want when making fizzing bath bombs. You want to be able to squeeze the mixture until it feels and looks like wet sand.


 Our leaf is complete. Now we must let it dry for about 3 days. I will be posting an update on this project once the concrete dries and the leaf is removed. At that point, the painting process begins. Oh what fun! Tomorrow night I'll be meeting with a group of friends to form even more leaves. Tonight, I'll be peeling apples (from a local orchard) to make an apple crisp to share tomorrow with my crafty friends. I've posted that recipe. The Apple Crisp is easy and awesome tasting. Add a dollop of vanilla ice cream and you're good to go.

